Saturday 17 December 2011

Easy Appy!

Ever need to take a last minute appy or unexpected company comes over and you need to put something out quickly?  Well this is one of the quickest and easiest appy to make - and it tastes great!  I use the rice cracker so if anyone is staying away from gluten they can still eat this.  What else is great is it is easy to have on hand and not expensive.
Philadelphia Cream Cheese
Olivieri Sundried Tomato Pesto
Rice Crackers - or any crunchy cracker that won't get soggy


So here is the directions - pay attention to the order so it turns out correctly - not too complicated - in fact I have seen my husband attempt to make this - so it is possible for the guys to pull this off too! I will give step by step instructions for that reason.

1.) Get a nice serving plate out
2.) Open the box of Philadelphia Cream Cheese
3.) Unwrap the cream cheese from the foil package
4.) Place the cream cheese block (that's the whole thing) on the middle of the plate
5.) Open the package of Sundried tomato and drain as much of the oil off as  you can
6.) Carefully spoon the Sundried tomato over the Cream Cheese so it looks like this:

 Note there is no oil dripping down and all over the plate!

7.) Open your package of crackers and place them on the plate aroun the block of cream cheese
8.) Put a little knife out on the plate so people can put the spread on the cracker.


ENJOY!

How easy was that!!

If you have left over - mix together and add to your favourite cooked pasta! - no not the crackers! just the cream cheese and sundried tomato pesto - sheesh, really you wouldn't have added the crackers to your pasta??


Tuesday 8 November 2011

Coolest Gadget Contest

I bought this like a lot of "gadgets" that I think we all buy - and it got used once and ended up in the back of the cupboard.  I was cleaning things out and re-found it!  I can't believe I haven't kept it where I can just pull it out and use it.  ( I have now put it somewhere that I will use it!)  Now when people are coming over and I am making potatoes, I use it!  Everyone is in awe at how the potatoes come out.  Simple little gadget, easy to use - one slice the vegetable -- yes I said vegetable - carrots, yams, sweet potato, slice it once and give it a quarter turn and slice again.

Pretty cool "eh?"
HOW TO ENTER:

Email us at "info@sweetartsupplies(dot)ca
SUBJECT: Coolest Gadget
1) Send us a picture of your coolest gadget and what it does
2) Follow our blog SweetArt Supplies Blog
and you could win the 2012 Wilton Cake Decorating Yearbook ($18.00 value)
WINNER WILL ALWAYS BE CHOSEN BY Random.org

**************************************************
The BONUS ENTRIES are always optional !
  • Join us and subscribe to SweetArt Supplies Newsletter – Extra 2 entries
  • Add SweetArt Supplies (using our URL) to your website, with your link back to me – Extra 2 entries
  • LIKE US ON FACEBOOK-  1 EXTRA entry
  • Follow us on TWITTER and tweet about this giveaway- one time only with a direct link to this contest
Make sure you post or email us to let us know all the ways you have entered
    Contest will be end at Noon Pacific Time December 30th, 2011.
     Winner will have until January5th to respond to claim the prize with their shipping information.  If we do not hear back from you by then we will choose another winner.
    If winner lives in the Victoria area - winner must be willing to pick up.

    You agree that your picture of the Coolest gadget will be posted on our Facebook Page and Blog with your first name and initial.

Monday 31 October 2011

Povitica with a twist


Povitica
I found this picture of Povitica and I didn't have a clue what it is so I "googled" it first before making it. Here is what I found:
Povitica or Croatian walnut bread, is a nostalgic favorite of many Eastern Europeans and their descendants. Povitica is rolled yeast bread, somewhat akin to strudel. It is typically served at special occasions, such as the holidays, birthdays and weddings. The versatility of this bread makes it perfect for morning coffee, or as a simple dessert. By some, the process of making povitica is revered as a dying art, made by long gone grandmas and aunts in the “old country.”  The sweetened dough is rolled out very thin and flat, and then is slathered with filling. While walnut is the most traditional of the fillings used to make povitica, other choices of fillings include hazelnuts, chocolate, poppy seed, strawberry jam, apples, cherry, pumpkin and cream cheese. After the filling is spread over the dough, it is rolled tightly, into a simple roll and baked, or placed into a loaf pan for a more uniform loaf."

So it looked a little complicated but actually it was quite easy and didn't take that long - maybe 4 hours start to finish.  I heard  it makes great French toast - if there was any leftovers! It was gone in a day :)  Here is the basic recipe and on the side is what I did that was different.

For Yeast to grow...
1/2 tsp sugar
1/4 tsp all-purpose flour
2 tsp warm water
1 1/2 tsp dry yeast  (I use SAF Yeast - it's my favourite)

For the Dough...
1/2 cup skim milk  (I only had 2%)
3 tbsp sugar
3/4 tsp salt
1 large egg
1 tbsp unsalted butter, melted
2 cups all purpose flour

For the filling...
1 3/4 cup walnuts, measure first, then grind in a food processor (I only had pecans)
(I also added 1 Apple chopped very fine and saute to soften them)
1/4 cup skim milk
1/4 cup unsalted butter, melted
1 egg yolk
1/4 tsp vanilla extract
1/2 cup sugar
1/4 tsp cocoa powder
1/4 tsp cinnamon

For the glaze...  ( I just brushed on the egg white and sprinkled a little sugar on it)
1 egg white
1/4 cup sugar

Growing the yeast...

In a small bowl, mix together the yeast ingredients and allow to sit at room temperature for at least 5 minutes. Check to see if your mixture is bubbly, that means your yeast is alive!!!

Making the dough...

In a small saucepan, heat milk to 180 F, remove from the heat and allow to cool to 110 F. In a large bowl, mix milk, sugar and salt until dissolved. Add egg, yeast mixture, melted butter and 1/2 cup flour. Add the remaining flour, 1/4 cup at a time, until the dough comes together. Switch to the dough hook, or knead by hand, and knead for about 5 minutes.

Coat a bowl with cooking spray and add dough, roll the dough around to coat in oil. Cover the bowl with plastic wrap and allow to rise until doubled in size. This should take about 1 hour to 1.5 hours.

Making the filling...

Just before the dough is doubled, grind the walnuts in a food processor and add the remaining ingredients.


Bringing it all together...

Preheat oven to 350 F. Grease an 8- or 9-inch loaf pan with cooking spray and set aside.
(I always use Parchment Paper to line my pans)

Take a clean bed sheet - preferably white so you can make sure there is nothing on it and spread it over your work surface. Lightly coat the sheet with some flour, not too much just a little flour. Add bread and roll out to a circle, about 10x12-inches.


Pour 1/2 tbsp of melted butter onto the dough. Using the backs of your hands, stretch the dough out until it's super thin. You want to be able to see through it, it's so thin! Try to make it a rectangular shape. ( I could have made it thinner - I will know for next time)


Once it's thin enough, add the prepared topping and spread out to cover the entire dough sheet. Now, roll up the dough. I used the sheet to help. Gently lift up the sheet and the dough should start to roll onto itself. Try to lift evenly across the length of the dough.


Once the dough is rolled, place it in the loaf pan, forming a U shape (two ends will be dangling out of one end). Fold the two ends back onto the dough. Using a pastry brush, coat the loaf with egg white and sprinkle with sugar. Cover the pan with plastic wrap and allow to rise for about 15 minutes. ( mine kind of looks like a swan!)


Remove plastic wrap and place the pan in the oven. Bake for 15 minutes. Lower the temperature to 300 F and continue baking for 30-45 minutes. .


Once baked, remove from the oven and place on a wire rack to cool for 30 minutes. Pop out of the loaf pan and ENJOY!.  Look at those swirls! (You can see that I should have made it thinner - but it was very good just this way too!


Sunday 23 October 2011

Tips from my Mother

I have learned a lot from my Mom over the years and a fair bit has been from being in the kitchen with her.
The kitchen can be a place to experiment, learn, be precise when baking and of course to have a lot of fun.
Here are a few things I've learned - I wish it had funny title like S#%}t My Mother taught me in the kitchen. But my Mother is a real gentle lady and never really had a "cross" word to say. If you are old enough you know what that means.... If you don't go ask a kind nice older person to tell you. Don't google it because it's not the same as a conversation with a person.

If you put hot water in your bowl that you made dough in you will make a glue that sticks to your brush or cloth that is really hard to get rid of. Resist the temptation!

If you think you will remember a few more minutes in the oven without setting the timer - think "oh s#%t" ok my Mom didn't say that word but "oh dear" or maybe even "Darn" but that was much later when I was an adult. Lesson here is it will burn- 1 minute with no timer equals smoke, burn, crispy and over done - sometimes completely forgotten till the smoke is bellowing out of your oven. Just don't do it.

If you don't put it back where it belongs you will never find it. Especially if some of your cupboards look like mine - ok I need to reorganize!

If you think it won't happen - it will! Murphy's Law for the kitchen. Means you will cut yourself if you are not careful, you will knock it over, break it, burn it, spill it, ruin it, spoil it, forget it, step in it, dog will eat it, and children will tattle on you in front of company to insure complete embarrassment!

So smile when you are in the kitchen, play music, laugh, (sometimes at yourself) teach someone, share a good recipe, eat together or as they used say "break bread together" - don't google that either.

Most importantly tell the person who taught you how much you appreciate them. In my case my Mom who is turning 90 in February! Thanks Mom!

Wednesday 5 October 2011

What Happened to my CAKE?

You worked hard and now the disappointment of seeing your cake fall when it comes out of the oven!  I won't get into the science of why this happens - because I really didn't listen to much in class - probably because they weren't talking about baking - then it might have caught my attention, but no it was stuff I didn't think I would ever use.  Ok ok I know some of you are thinking that if I had listened I might have really learned something that would apply to this - but I didn't so please don't lecture me, email or tweet me about the real scientific values of this lesson. :)
So for the cake falling:
  • oven temperature - don't rely on your oven - buy an oven temperature thermometer
  • movement while baking in the over - changing the rack, turning the pan or heaven forbid an earthquake - maybe just your kids jumping around the oven - something they should never do
  • the wrong kind of flour - too weak
  • poor quality of eggs - if they are sitting in  your fridge a month past the expiry date --- clean your fridge out :)
  • too much leavening agent in your recipe - yes I know sometimes I lose count too
  • too much air - don't over mix your batter
  • undercooked - you need to check that temperature and the time
Your cake can shrink too - unlike some of our waists from eating too much of it
  • too much leavening agent
  • too much water or liquid in your batter
  • your flour is too strong  Know your flour

See I didn't really need too much science to let you know what might have gone wrong :)

Monday 3 October 2011

Cinnamon Bread

After the first rise of my cinnamon bread
Flatten out not too much wider than your pan
Add a little water and then the mixture of dark brown sugar and cinnamon - I  added a little sprinkle of maple sugar to the mixture too :)

Roll it up
Pinch the bottom together and the ends - I slam it down on the counter to give it a really good seal
Let rise again for 1 hour - I also spread some melted butter on each loaf
Cover with plastic wrap and a light tea towel and rise

Bake for 30 minutes and this is what you get!
Saf Yeast is what I love!

Friday 30 September 2011

Ginger Cookies

These cookies are so easy and wonderful with a cup of tea, a good book and a roaring fire.  The aroma of ginger lingers in the home and reminds you of Autumn. (Unless there is someone in the house that can eat a dozen before you finish cleaning up)

Ginger Cookies
3/4 Cup Vegetable Oil (or Melted Margarine/Butter)
1 Cup Sugar
1 Egg
2 Cups Flour
2 teaspoons Baking Soda
1/2 teaspoon Ginger
1/2 teaspoon Salt
1/2 teaspoon Ground Cloves
1 teaspoon Cinnamon

Bake at 350 (F) for 10 minutes

For my own twist on things I add crystallized ginger in and on top of the cookie, I also don't use a full cup of sugar and add a bit more cinnamon.  This recipe is easy enough to add your own twist or strength of flavours.

Friday 16 September 2011

Zebra Cake

Even you don't bake from scratch this is easy to do from a white cake mix.  It does take a little practice - this was my first attempt and I think the next time I would divide the batter in half and place them in two glass measuring cups.  I think pouring them quickly will get a better pattern. 
You start with your round pan and pour a small amount of the chocolate in the middle and quickly pour the white and so on.  Don't stop and don't let it settle, work quickly and in even amounts.
Bake as usual and see the pattern you get when you cut into it!
Enjoy!

About me

I was reading one of the many blogs that I follow and came across one that introduced herself and I found it so nice and really connected more with her blog and what she wrote.  It was really nice in this day and age that an introduction like that was refreshing!  So without getting really personal here I go.
I was born in Edmonton - but don't really like to admit to that :) I did all my high school at an International School in Tokyo, Japan - we were there for 5 years and I loved it!  I have a very strong connection to Japan and all my friends there. 
We have lived here in Victoria since 1986, married 32 years this month and have 2 wonderful adult children and one very wonderful but stubborn cross dachshund named Libby. (She has her own cupcake squeeky toy)  I have passed the big 50 which is a great and wonderful thing - because the alternative is that one doesn't make it.  I almost didn't make it - 9 years ago this November  (2012)I was diagnosed with CML (chronic myologenous leukemia) and had to have a bone marrow transplant. A big Thank you to my doctors and donor and all those that donate to the blood bank!  I had two other small businesses and had to stop them both in order to fight through the CML and transplant.  I never dreamed I would ever feel good enough to live life again ... never mind run a business again.  So here I am, almost 8 years later and starting again.  Life is good - a lot of changes and adjustments to get here!  While I was slowly getting better I was confined to the house a lot and had to cook a different way and adjust to the way things were.I started cooking and baking from scratch.  Following blogs and stores - when I realized I was feeling good enough to do something and it was right there in front of me - so SweetArt Supplies was started.

I search for unique items and bring in some of the regular supplies for cake decoraters and the home baker. 
 I enjoy meeting and talking to my customers and learning from them - always learning! Laughing and still enjoying all that life has to offer!  So when you email me or call me - just say hi Gwen!
Looking forward to hearing from you.....

Sunday 10 July 2011

Cold Brew Toddy System

I was reading another blog Pioneer Woman, I have followed her blog for a few years, and recently read about this cold brew system.  I was very intrigued and set about finding one.  I made my first batch yesterday and it is ready today - I used a hazelnut coffee bean so that I could make a really nice flavoured ice coffee.  The only problem is the weather - it's cold outside!! It is July 10th and we are 13 degrees!! Where is summer?
So the "brew" can stay in your fridge for 2 weeks and it is like a coffee concentrate that you can use cold or hot and at any strength you prefer- it says it has 63% less acid in it and  it can be used for tea too.
So as soon as I can actually try it as a cold drink I will let you know, although I could have a hot coffee this afternoon and see how it is.

Cookies from a Cake Mix!

I guess I have been in the dark ages - I have never heard of doing this!  I have always baked cookies from scratch and yes a few times even had store bought cookies when I was in a pinch.  So I thought I would give this a try - I used the Duncan Hines deluxe Carrot Cake Mix and followed the instructions on their site: http://www.duncanhines.ca/recipes/cookies-bars/dh/carrot-cake-cookies  Well we all enjoyed them!  They were quick and easy  and yes I know not "homemade" but they really were good.  I am going to try some different mixes just for fun and see how they turn out.  I also didn't know that in the USA, Duncan Hines has many different kinds of cakes mixes that we don't have here in Canada.  Take a look at their US website and see the different things they have.  Experiment with the  mixes and have fun!

Thursday 19 May 2011

Zebra Cake

This is just a simple variation on marble cake - you can make it from scratch or from a box.  Take two glass measuring cups and divide the batter - one chocolate and one white.  In a prepared round pan, pour a small amount of one batter in the middle and quickly pour a small amount of the other in the middle - on top of the other one alternately - work quickly and evenly with the batter.  Bake as directed and wait for the suprise when you cut into it.

Tuesday 19 April 2011

Banana Bread

 
BANANA BREAD
 (revised January 12th, 2012)
 
There is something about fresh Banana Bread coming out of the oven, the aroma fills the whole house.  I wait until I have about 6 medium bananas that are brown and so over ripe they almost fall apart.  They are sweet and make the best banana bread.  I make two nice loaves - one for us and one for a friend or neighbour.  This is one of those things that when the kids come to visit they ask for it!  You can make present them in our 
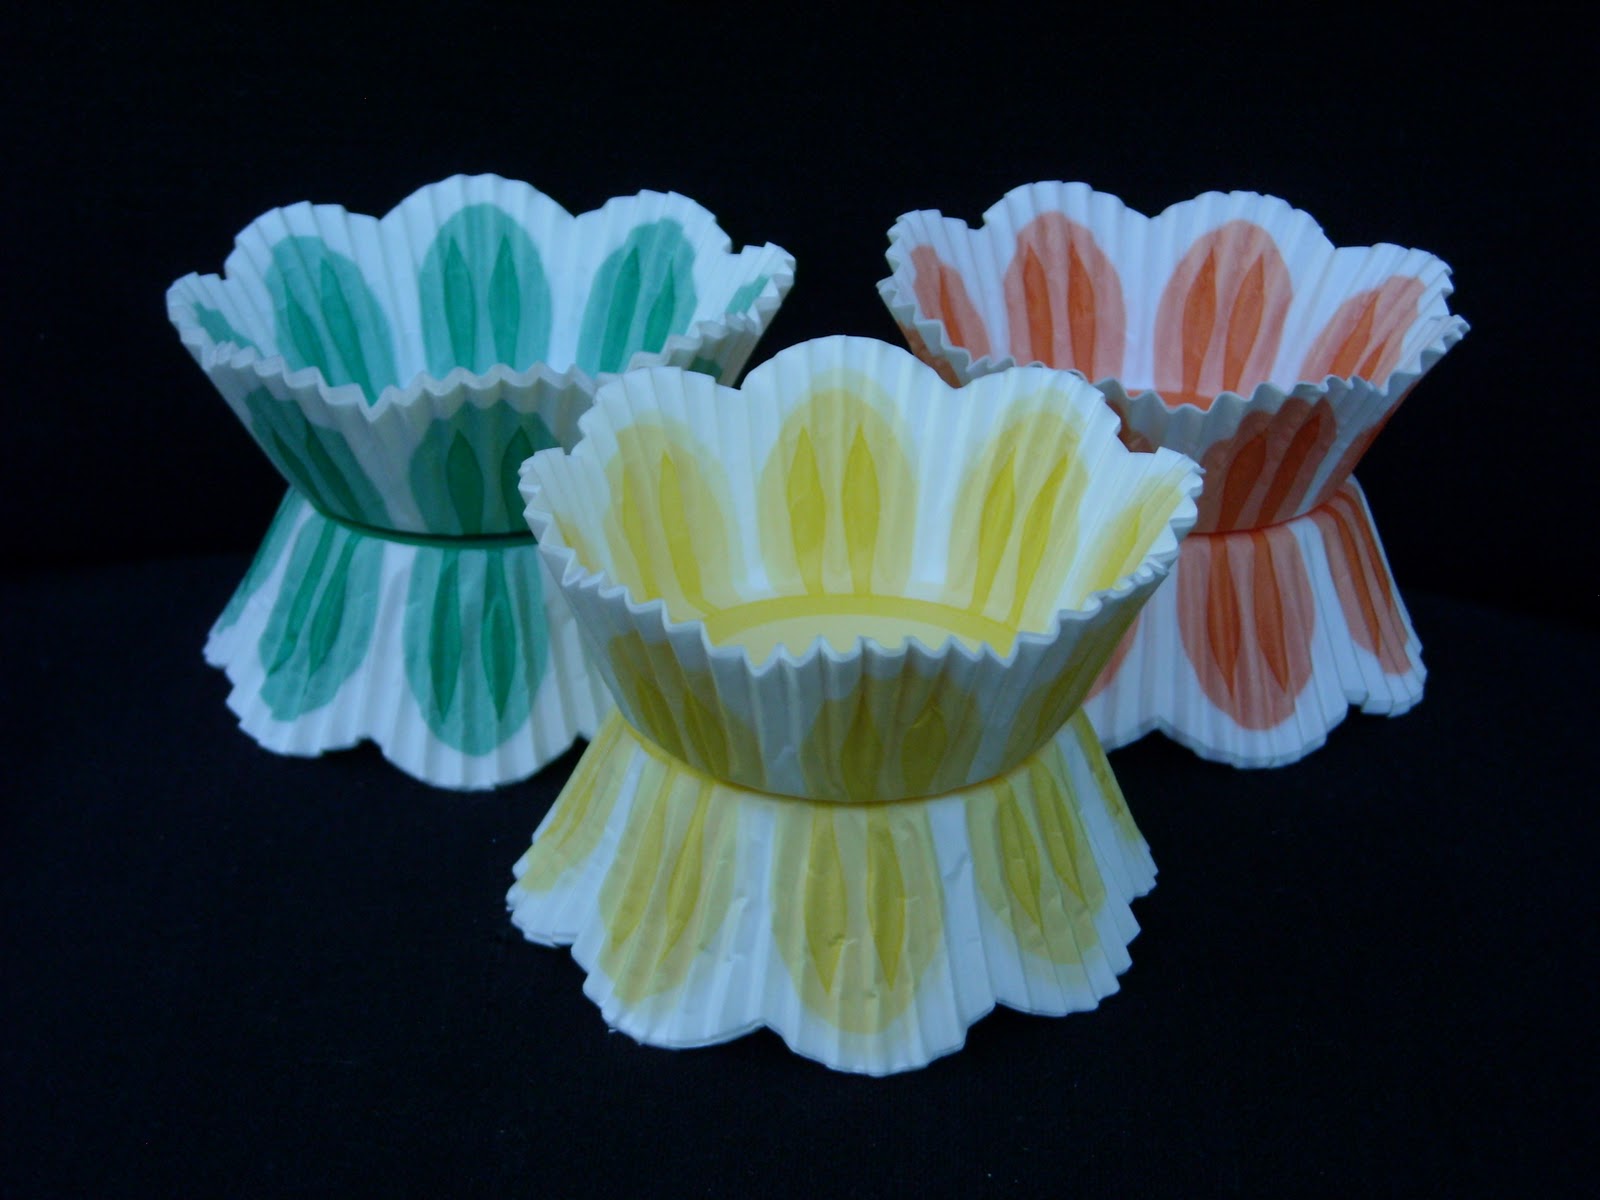
Brown Tulip Cups or our Red Tulip Cups to make a nice muffin and a great presentation or to really make a statement check out our Muffin Top Liners - these look so beautiful and you can easily share one with another person!

So the recipe is one that my Mom wrote down many years ago and and I baked it the original way which I will post on the bottom just for reference. ( I don't know where it came from)  Times have changed and I just can't bake Banana Bread with a cup of shortening!  Pie crust - but nothing else- I just gag thinking of it.  The original recipe also used 2 cups of sugar - for two loaves.  I can't do that either!  So I substitute 1 cup of applesauce and add a little more flour for the right consistency.  I also probably use 3/4 cups of sugar since if I am making the Cinnamon strudel topping there is sugar in that and the bananas are really very sweet!  So feel free to use the original or play around with it like I have. 

Today is the first time I have tried adding candied ginger and a little ginger lemon syrup to one of the loaves!  My friend Lesley over at 2GFKitchens suggested this (ginger syrup and candied ginger) and I just had to try it!  I wish I had some of my really good ginger or homemade stuff - but the store bought was worked out ok.  I cut them in to tiny pieces so you don't bite into it and get a huge hit of ginger and I also tossed the cut pieces in flour so they didn't clump together.  I used not quite 1/2 cup of cut up ginger.


Banana Bread (my version)

2 1/2 cups flour ( if using apple sauce I use a little more flour)The batter should be loose but not too  liquidy
1 teaspoon salt
2 teaspoons baking soda
1 cup non salted butter
1  cup sugar (sometimes less)
1 cup apple sauce
2 cups mashed ripe banana about 6 medium bananas ( or 5 smaller ones if using applesauce)
4 eggs, slightly beaten


What to do:

Preheat oven to 350F
Line 2 loaf pans with parchment paper
Stir and toss together the flours, salt and baking soda.   In a large bowl, mix the butter, sugar, mashed banana, eggs and applesauce. Add the ginger here if you are adding it. Or divide into 2 and make one of each kind if you like!
Add the combined dry ingredients and stir just until the batter is thoroughly blended.

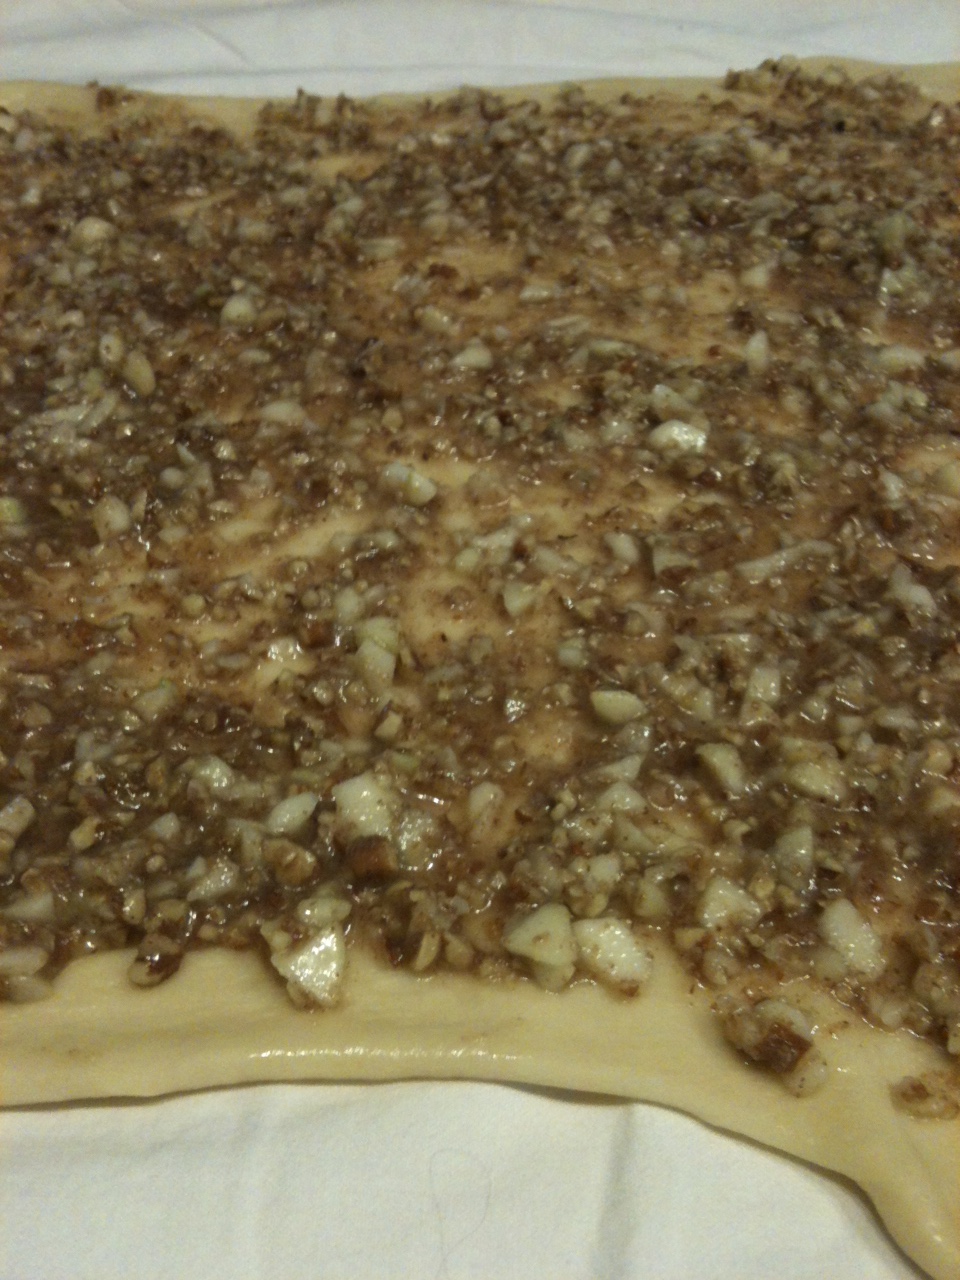
(on the left hand side of the picture)
Sometimes I add a Cinnamon Strudel topping to one of the loaves before baking combine
1/3 cup brown sugar
2 Tablespoons of flour
1/2 teaspoon Cinnamon (or a little more if you love cinnamon!)
1 Tablespoon cold butter
Mix all together and sprinkle all over the top of the batter before baking.

(On the right hand side of the picture)
For the Ginger Topping
I just cut some candied ginger about 1/2 cup( maybe a little less) into very small piece and tossed in flour to prevent clumping
I happen to have a little ginger and lemon honey syrup so I added 1 Tablespoon for that into the batter.  I don't know if it made a real difference but it did punch up the loaf having ginger in it!


Pour into the prepared pans and bake for about 65 to 70 minutes or until a skewer come out clean.
Remove from oven, and let cool in pan for 5 minutes then turn onto a cooling rack.


Banana Bread (original recipe)

2 1/2 cups flour
1 teaspoon salt
2 teaspoons baking soda
1 cup vegetable shortening
2 cups of sugar
2 cups mashed ripe banana about 6 medium bananas
4 eggs, slightly beaten
1 cup chopped walnuts

What to do:

Preheat oven to 350F Grease and flour the loaf pans (makes 2 loaves)
Stir and toss together the flours, salt and baking soda. In a large bowl, mix the shortening, sugar, mashed banana, eggs and walnuts.
Add the combined dry ingredients and stir just until the batter is thoroughly blended.

Pour into the prepared pans and baker for about 65 to 70 minutes or until a skewer come out clean.
Remove from oven, and let cool in pan for 5 minutes then turn onto a cooling rack.

Thursday 14 April 2011

Easter

I can't believe Easter is here again.  We have such beautiful Cupcake Cuddlers that will make your Easter event special, use them to dress up your cupcakes or as a little dish for your Easter candies/chocolates on your table.  Fill them with little candies for the kids to find or add in their Easter Basket. On a personal note Easter means our family is together for a wonder dinner and probably a few games of darts.  This year I have decided that the adult "kids" have to start learning how to make a big turkey dinner - start to finish.  This includes planning and figuring out how much food and what to have, but the bigger and most important thing to learn is how to prepare and cook my famous (well as famous as my friends and family say it is) BBQ turkey.  I have barbequed my turkey for 30 years - long before it became a popular thing to do.  I have changed, and perfected it every year!  A couple of years ago we were in New Brunswick where I prepared my turkey for my husband's family.  I learned I don't perform well under pressure!  I was so nervous that something would go wrong!  The concept was so new to them they made a ham in case the turkey didn't turn out or people didn't like it.  My confidence was wavering, but I pulled it off with flying colours!  They couldn't stop raving about it and still talk about it anytime it is turkey dinner time.  I was proud of myself and realized that taking the time to prepare a great meal and feeding my friends and family just warms my heart.  I might not be famous or do great and wonderful things that the world will know that I was here, but I know I mean something to those that I love and care about.
I hope your life is filled with challenges, change, laughter and most of all love.  Remember to tell those that are important in your life how much they mean to you.  RIP Dad - we miss you.

Wednesday 13 April 2011

Overnight Cinnamon Buns

After posting the picture of these I had so many requests for the recipe.  I hope you enjoy them!
this recipe was originally from Company's Coming and makes 3 DOZEN - so if you need to you can divide the dough into 3rds each one makes one dozen and use one for a dozen buns by omitting the step of adding the cinnamon sugar and butter part.

Ingredients:
Granulated Sugar     1 tsp
Warm Water             1/4 cup
Active Yeast             2-1/4 tsp (one package or 8g - I use SAF yeast available on the website

Boiling water            2 -3/4 cups
Granulated Sugar      1 cup
Butter/Margarine      1/2 cup
Salt                            1 Tbls

All purpose flour      8 Cups approximately

At about 5pm stir the first amount of sugar into the warm water in bowl - I used my kitchen aid.  Sprinkle yeast over top and stir to dissolve the yeast -  let stand 10 minutes

In the mean time pour boiling water into a large bowl.  Stir in second amount of sugar, butter and salt until the sugar is dissolved and the butter is melted.  Cool to lukewarm and then add to yeast mixture.
Beat in about 1/4 of the flour -- that's about 2 cups, then work in enough of the remaining flour until the dough pulls away from the sides of the bowl.  Place in a greased bowl, turning once to grease the top.  Cover with only a tea towel and let stand on the counter until 7:00pm
Punch dough down. Cover again and let stand again until 10:00pm.  Punch down and divide into 3 sections.  At this point you can make one of the 3rds into egg size pieces and shape into buns and arrange onto a greased baking sheets.  Cover with a tea towel and let stand on the kitchen counter until the morning.  BAKE AT 375 FOR 15-20 MINUTES.

For the CINNAMON BUNS: roll each section into a 14inch square.  Spread each square with softened butter ( I used less than 1/2 cup butter for all three sections to make 36 buns) Sprinkle with brown sugar (less than 1 cup for all three) and about 1 Tbsp per roll since we like lots of cinnamon.  The original calls for 1/2 cup butter and 1 cup brown sugar and 2 Tbsp per section! - which I am sure is decadent but way too much for me.  Roll up from long side and cut each section into 12.    I placed my buns on parchment paper on a large cookie sheet.  Cover with a tea towel and let stand on kitchen counter until morning.  BAKE AT 375 FOR 15-20 MINUTES.

Serve warm with butter or make a cream cheese icing.

Friday 18 March 2011

New Arrivals

  I love the arrival of new products - it's like Christmas, birthdays and surprises rolled into one and it happens every month.  I have a beautiful box of Carol's new  Cupcake Cuddlers - they are just so adorable, beautiful and elegant all rolled into one! 
  Then yesterday I had another box arrive - more fun stuff, beautiful sugar decons, candles, airbrush for cake decorating and some sandle and beach theme picks.  Now the work begins - pricing, picture taking, weighing and measuring and finally putting each item and count on the website.  Two boxes can take a couple of days to get all the work done for the final result of seeing it on the website. 
  The other fun part of all this is meeting new people and networking to help each other in our business.  I had a great talk with Marla from Sugarbaby Aprons .   I hope that I will be able to carry some of her aprons - they look adorable!


  Kalasform - we are the Exclusive Canadian Distributor for these awesome products and they have some very cool new items - like their trays and napkins and new size of mini liners.


So now - off to work..

Thursday 17 March 2011

Dress your cupcakes in designer fashion ! Introducing Cupcake Cuddler Couture !


Bride & Groom Cuddlers

I have been lucky enough to work with Carol Pawlik of Dressed Up Party Cups - The Original Cupcake Cuddlers and be the Canadian Distributor for these awesome designer cups.  Carol designed and created these cuddlers that are a perfect way to display your cupcake.  Perfect for parties, weddings to show off your cupcake - or use for your party favours.  Carol has over 25 years experience as a cake designer and even did a cake for Betty White's birthday this year on the set of Hot in Cleveland (yes I am tooting her horn!) Carol also made cuddlers for Brad Paisley and Kimberly Williams wedding! (another toot!)
 
We are so happy and excited to carry these wonderful products!

Wednesday 16 March 2011

Anna Olson's Lemon Meringue Cheesecake in our Kalasform Liners

I love trying new recipes and this one was such a hit I have made it twice!  I used our regular size Kalasform Liners - which is a normal size cupcake liner.  It is a perfect size for after a meal - not too big and also not too sweet.  Since we all love a real lemony cheesecake I also spread a layer of lemon curd on the cheesecake before putting the meringue on it.  The cheesecake set up very nicely and the beautiful pretty paper peeled away keeping the cheesecake in one piece. 


 Ingredients for Anna Olson's Meringue Cheesecake - from her Fresh recipe book

Crust:

  • 1 ½ cups graham cracker crumbs
  • 1 1/2 tbsp sugar
  • 1/4 cup unsalted butter, melted
Cheesecake
    • 2 x 8-oz/225 g packages cream cheese, room temperature
    • 2/3 cup sugar
    • 2 tbsp cornstarch
    • 1 Tbsp finely grated lemon zest
    • 2 Tbsp fresh lemon juice
    • 2 tsp vanilla extract
    • 2 large eggs, room temperature

Meringue:

  • 3 large egg whites
  • ½ tsp lemon juice
  • ¼ cup sugar
  • 2 tsp cornstarch
Method
  1. Preheat oven to 180C and line 36 mini muffin tins with paper cups.
  2. To make crust, combine all ingredients until evenly blended and crumbly and press into bottom of mini muffins cups. Bake for 8 minutes, then cool.
  3. To make cheesecake, reduce oven to 325F (160C). Beat cream cheese until smooth and fluffy, then gradually add sugar while beating, scraping the sides of the bowl often. Beat in cornstarch, lemon zest, lemon juice and vanilla. Add eggs one at a time, scraping well after each addition. Spoon or pipe cheesecake filling into cooled mini muffin tins bake for about 18 minutes, until cheesecake still moves a little when pan is shaken gently. Let cheesecakes cool to room temperature. Meringue layer can be made once cheesecake have cooled and cheesecakes can be chilled overnight and then finished
  4. For meringue, preheat oven to 375F (190C). Whip egg whites with lemon juice until foamy. While whipping, gradually pour in sugar and whip on one speed less than highest until whites hold a stiff peak (the meringue stands upright when whisk is lifted). Whisk in cornstarch. Filling a piping bag with a large star or plain tip and pipe on top of each cheesecake. Bake pie for about 6 minutes, just until meringue browns lightly. Allow cheesecakes to chill for at least an hour and up to a day before serving.

Notes & Tips

Beating the egg white one speed less than high is key – you get fine a bubble structure and are less likely to overwhip them I use cornstarch in meringue to help prevent “weeping”.

Tuesday 15 March 2011

First Blog

Well, this is a new experience and I hope I can keep it up and share some things that are happening for us here at SweetArt Supplies.  I will try and post pictures and recipes using our products, let you know of new things we find and interact with you.  Please be patient as I learn the ins and outs of blogging and bare with all my mistakes as the learning curve is huge!  I hope you will follow along and enjoy the ride!